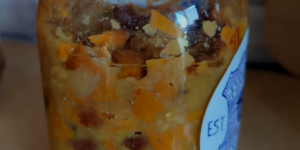
Loquat Chutney
I’m lucky enough to have a 25-foot tall loquat (Eriobotrya japonica) tree in my yard (no, not kumquat). It’s a prolific leafer, so I get free carbon for my compost …

Pre-recorded fermentation workshops taught by the founder of Fermenters Club, available 24/7/365! Test drive courses for FREE!

Consult a REAL, HUMAN expert (🚫🤖)!
Offering 30- or 60-minute one-on-one consultations with Austin Durant, Founder of Fermenters Club. Having trouble with a specific ferment? Thinking about starting your own fermented food company?
Take advantage of Austin’s 15 years of experience in the fermentation world!
Can’t decide what to get for that finicky Fermenter in your life? Give them a gift card and let them choose!
Here’s how to get started today! Ingredients, equipment, and starter recipes
What is Food Fermentation? This is a short video explaining food fermentation. Perfect for beginners and anyone who wants to understand exactly fermentation is. Topics covered: – What is fermentation …
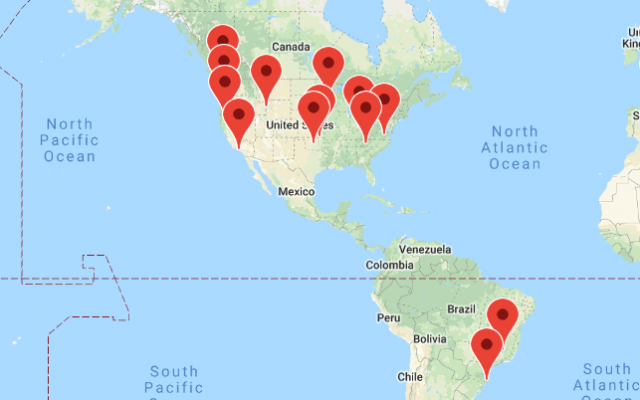
Find local fermented food and beverage makers in your neighborhood… or anywhere in the world!
I’m lucky enough to have a 25-foot tall loquat (Eriobotrya japonica) tree in my yard (no, not kumquat). It’s a prolific leafer, so I get free carbon for my compost …

Be sure to catch our new YouTube series LIVE, every Friday at 9am Pacific/12pm Eastern! We take a deep dive into a topic each week! Salt, sodium chloride or NaCl, …
Most of the microbes that do the fermentation work are like us; they prefer room temperatures. If it’s cool enough in your house during cold months (say, below 68 °F/20 …
![]()
We’ve curated some cool fermentation books and tools on Amazon. If you buy stuff by using these links, we get a few cents. So thanks in advance!
![]()
Cultures for Health offers high quality, affordable products to make nutrient-rich cultured and fermented foods at home. Their goal is to provide all the products, information, and support customers need to successfully incorporate healthy foods into their lives.![]()
Hey, Fermenter!
Subscribe to our Newsletter now to receive your
⚡Instant download⚡of our
Printable Sauerkraut Recipe Cards!
Twice a month, we will regale you with events & workshops, fermentation techniques, tips, tricks, new recipes, and the latest news and research about food fermentation.